Microcontroller Embedded C Programming: Absolute Beginners
Table of contents
Course topics
Hardware used for this course
- Board Name:
- STM32F4DISCOVERY
- https://www.st.com/en/evaluation-tools/stm32f4discovery.html
- Features
- STM32F407VGT6 microcontroller
- 32-bit Arm® Cortex®-M4 with FPU core
- 1-Mbyte Flash memory
- 192-Kbyte RAM in an LQFP100 package
- USB OTG FS
- ST MEMS 3-axis accelerometer
- ST-MEMS audio sensor omni-directional digital microphone
- Audio DAC with integrated class D speaker driver
- User and reset push-buttons
- USB with Micro-AB
- Stereo headphone output jack
- 2.54 mm pitch extension header for all LQFP100 I/Os for quick connection to prototyping board and easy probing
- Flexible power-supply options: ST-LINK, USB VBUS, or external sources
- External application power supply: 3 V and 5 V
- Comprehensive free software including a variety of examples, part of STM32CubeF4 MCU Package, or STSW-STM32068 for using legacy standard libraries
- On-board ST-LINK/V2-A debugger/programmer with USB re-enumeration capability: mass storage, Virtual COM port, and debug port
- Support of a wide choice of Integrated Development Environments (IDEs) including IAR Embedded Workbench®, MDK-ARM, and STM32CubeIDE
I asked ChatGPT to write me a curriculium to learn embedded systems.
- Basics of Embedded Systems:
- Understand the fundamentals of embedded systems, including hardware-software interaction, real-time constraints, and resource limitations.Study microcontroller architecture, digital logic, and basic electronics.
- C Programming Language:
- Refresh your knowledge of the C programming language, as it is widely used in embedded systems development. Focus on low-level programming concepts, memory management, bitwise operations, and working with registers and pointers.
- Embedded Systems Development Tools:
- Familiarize yourself with the tools commonly used in embedded systems development, such as IDEs, compilers, debuggers, and emulators. Learn to set up and configure development boards and microcontrollers for programming.
- Microcontroller Architecture:
- Deep dive into microcontroller architectures, such as ARM Cortex-M series or PIC, and understand their features, peripherals, and memory organization. Study the datasheets and reference manuals provided by the microcontroller manufacturers.
- Embedded Systems Programming:
- Explore topics like digital I/O, timers, interrupts, analog-to-digital conversion, and serial communication protocols (UART, SPI, I2C). Learn how to interface with sensors, actuators, and other external devices.
- RTOS and Real-Time Programming:
- Gain an understanding of real-time operating systems (RTOS) and their concepts like task scheduling, synchronization, and inter-process communication. Learn to develop multi-threaded applications for embedded systems.
- Embedded Systems Software Design:
- Study software design principles for embedded systems, including modular programming, code reuse, and software architectures. Explore design patterns specific to embedded systems.
- Embedded Systems Testing and Debugging:
- Learn various testing and debugging techniques specific to embedded systems, such as using in-circuit emulators, logic analyzers, and oscilloscopes. Understand how to troubleshoot hardware and software issues.
- Low-Level Hardware Interfacing:
- Dive into low-level hardware interfacing techniques, including direct register access, device drivers, and peripheral programming. Explore topics like DMA (Direct Memory Access) and interrupt handling.
- Embedded Systems Projects:
- Undertake hands-on projects to apply your knowledge and gain practical experience. Develop projects that involve sensor interfacing, motor control, communication protocols, or any specific area of interest within embedded systems.
- Industry Standards and Best Practices:
- Stay updated on industry standards, protocols, and best practices related to embedded systems development. Follow blogs, forums, and relevant publications to stay abreast of the latest advancements in the field.
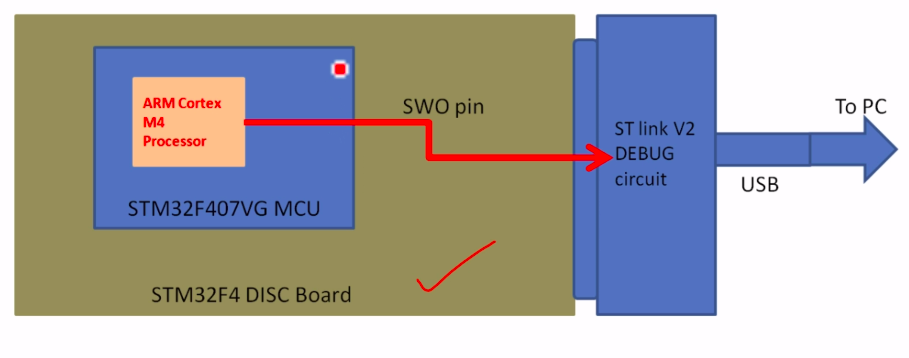
How printf works on the microcontroller
Only applicable to MCU’s based on ARM Cortex (M3, M4, M7) or higher processors
- Works over SWO pin (Serial Wire Output) of SWD interface
- If we zoom into the processor we can see that it uses ITM (Instrumentation Trace Macrocell Unit)
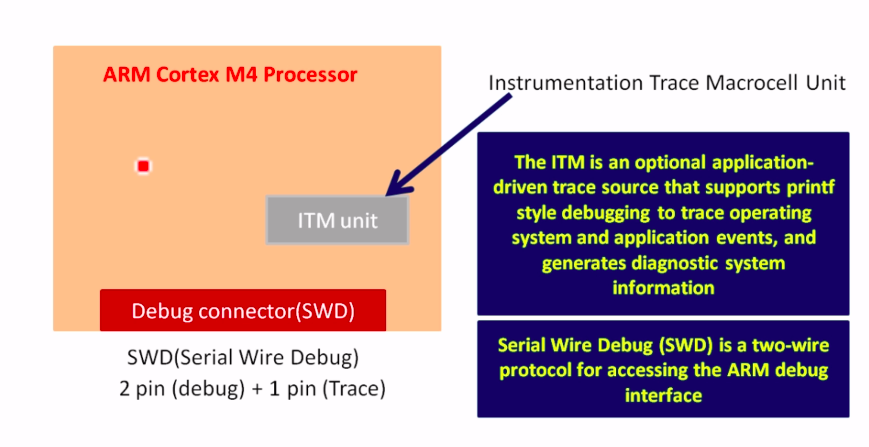
- The ITM is a debugging feature that allows real-time instrumentation and tracing of the program execution. It provides a dedicated communication channel between the microcontroller and a debugger, typically through the SWO (Serial Wire Output) pin.
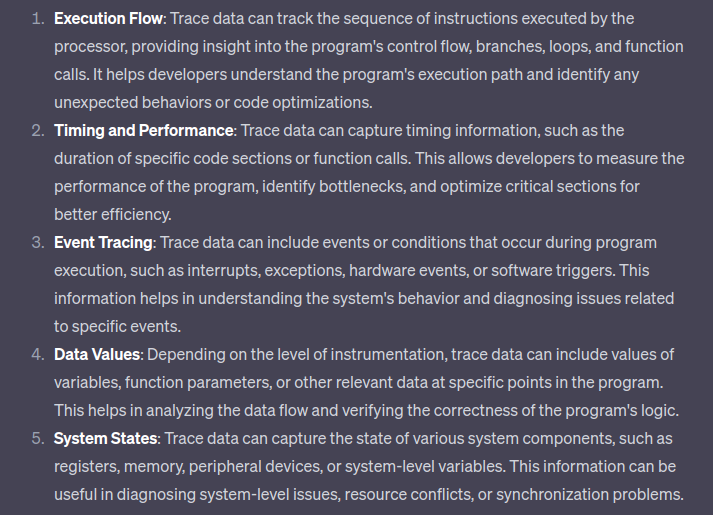
- ITM can allow for the following types of traces to be monitored
- SWD (Serial Wire Debug)
- 2 wire protocol for accessing the arm debug interface
- 1st wire
- SWDIO (Serial Wire Debug Input/Output) : a bidirectional data line
- is one of the two pins used in the SWD protocol. It serves as a bidirectional communication line for transmitting debug and programming data between the debugger and the target device.
- 2nd wire
- SWCLK (Serial Wire Clock signal) : a clock driven by the host
- The SWCLK signal is used to synchronize the data transfer between the debugger and the target during debugging and programming operations.
- 1st wire
- It is part of the ARM Debug Interface Specification V5
- Using SWD interface allows you to
- program MCU internal flash
- access different memory regions
- add breakpoints, stop/run cpu
- An alternative to JTAG
- You can use the serial wire viewer for your printf statements and debugging
- 2 wire protocol for accessing the arm debug interface

- Writing the printf function will be pushed onto the fifo queue and written by onto the swo pin
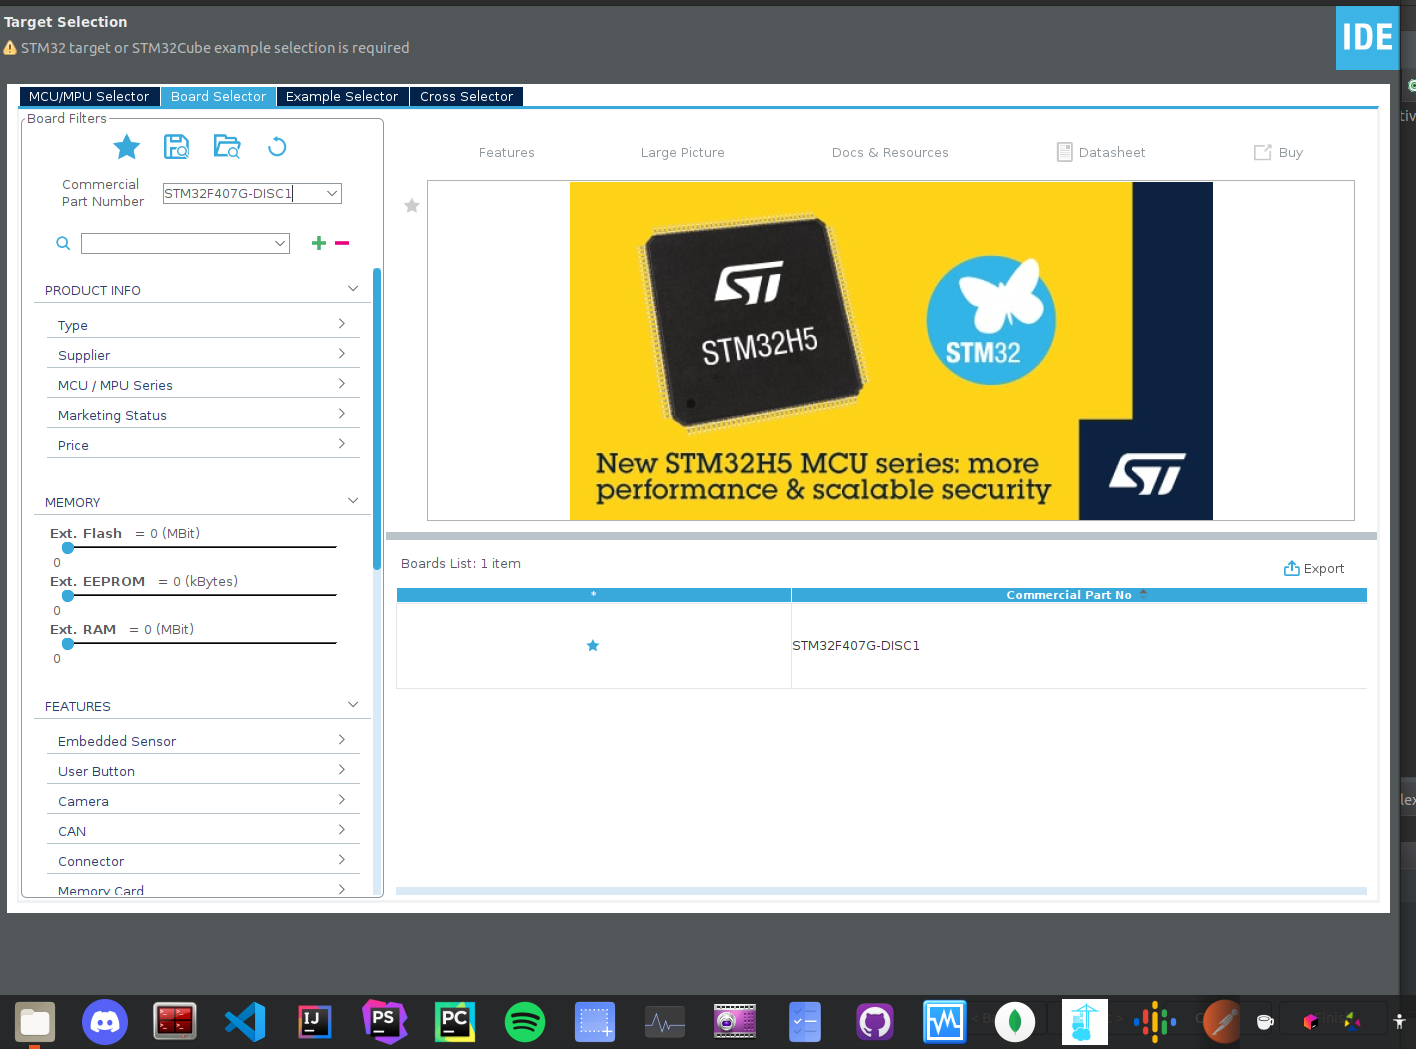
IDE used
- using STM32CubeIDE
- target is used for the target device which in this case is the dev board
- host is the host code so in this case the code on our thinkpad laptop
Creating a new project
- Steps
Project structure
- Project structure is as follows

- for every dev board there is a startup folder with startup code for that specific board
Cross compilation
- cross compilation is when you compile code on your machine with the itent that it will be run on another machine with different architecture
- example: arm-none-eabi-gcc compiles to an arm executable
This post is licensed under CC BY 4.0 by the author.
